Introduction: Why is the initial installation so crucial?

O hydraulic Breaker as a high-precision hydraulic tool, the quality of its first installation directly affects its subsequent service life and operational efficiency. In the foreign market, the equipment transportation period is long and the response to after-sales service is relatively slow. An improper installation once can cause potential faults in the new hammer before it is put into use impurities penetrating causing scratches on the precision components, reversed oil pipe connections leading to non-functioning, and nitrogen pressure deviation affecting the impact force. These problems could have been easily avoided during the installation process.
This article will systematically review the standard process and key precautions for the first installation of the hydraulic Breaker helping users achieve a “zero-error” start and enabling the new equipment to perform at its best from the very beginning.
Pre-installation Preparation: Confirm the pipelines and hydraulic system
Confirm whether the vehicle is equipped with a pipe breaker.
The crusher requires an independent hydraulic circuit provided by the excavator to function. Currently, most excavators on the market have reserved the interface for the crushing pipe at the factory, but there are still some models that require additional installation later.
- If there are already broken pipelines: Proceed directly to the next step.
- If there are no broken pipelines: Contact the supplier or service provider to install a crushing valve block and pipeline kit to ensure that the flow rate and pressure match the model of the crushing hammer.
Common questions for foreign customers: Some customers mistakenly believe that the backup pipelines of the excavator can be directly used for the breaker hammer. However, the flow and pressure of the backup pipelines are often insufficient, resulting in weak impact from the breaker hammer. It is essential to verify the technical parameters.
Pipeline Scouring A Key Step for Removing Impurities
The internal clearance of the new Hydraulic Breaker is measured in micrometers. Any tiny impurities (such as welding slag, rust, or sealant debris in the pipeline) that enter the interior could potentially scratch the piston or the cylinder.
Correct operation procedure:
- Take a transition oil pipe and directly connect the inlet and outlet ports of the excavator’s crushing pipeline.
- Open the pipeline shut-off valve, step on the crushing foot switch, and allow the hydraulic oil to circulate in the pipeline for about 1 minute.
- During the flushing process, the impurities carried out will be intercepted by the return oil filter of the excavator and will not enter the hydraulic oil tank.
Common Mistake: Some operators skip the flushing step and directly connect the crusher and start working. This leads to impurities entering the interior of the new crusher, causing early wear. This step must not be omitted.
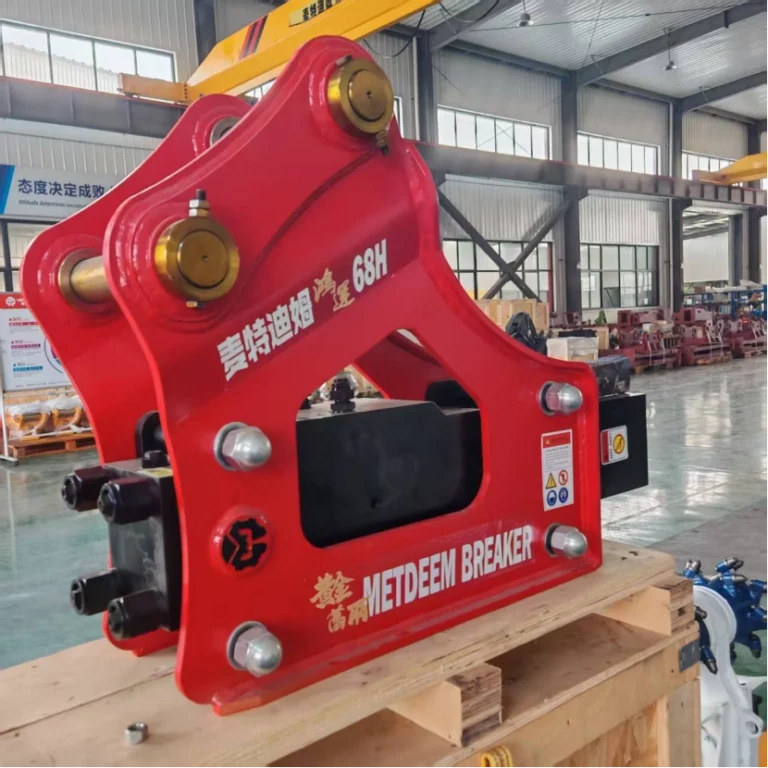
Installation of the Breaker Hidráulico and Nitrogen Gas Detection
Mechanical Connection and Oil Pipe Connection
- Lift the breaker hammer to the front end of the excavator’s small arm and fix it with a pin joint and a bracket.
- Properly connect the hydraulic hoses:
| Hose | Connecting Object |
| Excavator fuel supply hose (high pressure) | Breaker hammer IN interface |
| Excavator return oil hose (low pressure) | Breaker hammer OUT interface |
Connecting the pipe in the wrong way will cause the breaker hammer to fail to operate. Although it won’t immediately damage the equipment, it will result in waste of time and incorrect judgments. After connection, it should be rechecked.
Nitrogen Pressure Detection and Chisel Installation
- Nitrogen in the rear cylinder block: Use a dedicated nitrogen pressure gauge for testing to ensure the pressure value complies with the technical standards of this model (for example, for DM140, it is usually 16-20 kg/cm²). Any deviation from the standard value requires adjustment add more when needed and remove when insufficient.
- Nitrogen in the accumulator (for some models): The same testing and adjustment are required to reach the standard value.
- Installation of the Chisel: Install the Chisel, Chiselpin, and locking pin in sequence to ensure proper locking.
Butter Filling and Initial Exhaustion
Butter Filling The new hammer requires double the amount of lubrication.
The internal oil circuit and slide grooves of the new breaker have not yet established an initial oil film, so the amount of grease added for the first time needs to be more than the usual amount.
- Filling amount: Approximately 100 to 200 milliliters (adjust according to the model size; for larger models, use the upper limit).
- Operating method: Place the Hydraulic Breakervertically upright, press the Chiselinto the ground, and then add the lubricant through the grease nipple to ensure that the grease fully enters the inner and outer sleeve slides.
Initial Startup Light Pedal Exhaust
After adding the butter, it is necessary to remove the air from the hydraulic pipeline and the hammer body:
- Place the Chiselagainst the appropriate crushing material (or a solid surface).
- Use a low gear and activate the crushing switch in intermittent pressing manner. Each press should last approximately 2-3 seconds before releasing.
- Repeat the process until you hear the first crisp impact sound, indicating that the air has been largely expelled.
After exhaust, you can smoothly step on the accelerator to carry out continuous crushing operations.
Common Errors and Correct Approaches During the First Installation
| Operation Steps | Common Errors | Correct Practices |
| Pipeline Preparation | Connect the hammer directly without flushing the pipeline | Connect with a transition oil pipe and flush for 1 minute |
| Oil Pipe Connection | Connect by feeling without considering IN/OUT | Connect strictly according to the markings |
| Nitrogen Detection | Use the factory pressure directly without measurement | Must use a pressure gauge for detection and adjustment |
| Grease Addition | Add a small amount (same as usual) | Add more initially, 100-200 milliliters |
| First Startup | Continuously hit with full throttle | Use a small throttle, pause, release air, and then operate normally |
FAQ
Q: When flushing the pipeline, will impurities enter the hydraulic oil tank of the excavator?
A: No. The excavator’s hydraulic system is equipped with an oil return filter. The impurities carried out during the flushing process will be filtered and retained by the filter, and will not contaminate the oil tank.
Q: If the intake and return oil pipes are connected wrongly by accident, will it damage the breaker hammer?
A: It won’t be damaged immediately, but the breaker hammer won’t work properly. Just switch the oil pipes correctly and it will return to normal.
Q: During the initial start-up, how many times do you need to step on the intermittent point to completely expel the air?
A: Usually, you will hear the first strike sound within 3 to 10 steps. The exact number depends on the length of the pipeline and the air content. It is based on hearing a clear strike sound.